































Introduction
At Every Moment Travels, we see visa rejections up close every week. It’s one of the most frustrating outcomes for travelers, students, and migrants. Applicants spend weeks gathering documents, paying fees, and attending interviews, only to receive a refusal letter.
Here’s the part that stings most: most rejections are avoidable. Embassies reject thousands of applications every year over incomplete documentation, weak financial proof, or unclear travel plans. Understanding the real reasons behind refusals can meaningfully improve your approval odds.
This guide breaks down the most common visa rejection reasons, how to prevent them, and what to do if you’ve already been refused.
How Visa Officers Actually Evaluate Applications
Before we get into rejection reasons, it helps to understand what officers look for.
Embassies weigh several factors on every application:
- Purpose of travel
- Financial stability
- Ties to home country
- Travel history
- Document authenticity
- Immigration risk
Every officer asks the same core question. Will this applicant return home after the visit? If they suspect you might overstay or work illegally, they’ll likely refuse the visa.
If you’re applying as a student, start with our student visa application guide. It walks through the full process first.
The Most Common Visa Rejection Reasons

Here are the causes we see most often across tourist, student, and work visa applications.
| Rejection Reason | Explanation |
|---|---|
| Incomplete application | Missing forms or incorrect details |
| Insufficient financial proof | Weak evidence of ability to fund the trip |
| Weak ties to home country | No strong reason to return home |
| Suspicious travel purpose | Vague or unclear travel plans |
| Fake or inconsistent documents | Information that doesn’t match across files |
| Poor travel history | No previous international travel |
| Criminal or immigration violations | Past overstays or deportations |
| Failed visa interview | Weak or inconsistent answers |
1. Incomplete or Incorrect Applications
This is one of the most common causes of rejection. Visa forms demand precise personal, financial, and travel details. Even small errors can trigger a refusal.
Common mistakes we see:
- Wrong passport number
- Incorrect travel dates
- Missing signatures
- Incomplete address history
- Incorrect employment details
Many embassies reject flawed applications outright, without asking for corrections first.
How to avoid it:
- Read every instruction before filling out the form.
- Double-check every number and spelling.
- Complete every section fully.
- Review the whole application before you submit.
- Keep your information consistent across all documents.
Consistency matters more than applicants often realize.
2. Insufficient Financial Proof
Embassies need proof you can cover flights, accommodation, food, transportation, and insurance. Weak financial documentation raises a red flag. It suggests you might work illegally or become financially dependent abroad.
Documents that typically prove financial capacity:
- Bank statements (usually 6 months)
- Bank balance certificates
- Salary slips
- Tax returns
- Sponsorship letters
- Business registration documents
Commonly recommended minimum balances:
| Destination | Recommended Minimum Balance |
|---|---|
| Europe | $5,000 – $10,000 |
| United Kingdom | $4,000 – $8,000 |
| Canada | $6,000 – $12,000 |
| Australia | $5,000 – $9,000 |
These figures are general guidance, not official government requirements.
3. Weak Ties to Home Country
Officers need real evidence you’ll return home. If they suspect otherwise, they’ll refuse the application.
Strong ties typically include:
- A stable job
- Business ownership
- Property ownership
- Family responsibilities
- Current school enrollment
Weak ties typically include:
- Unemployment
- No property
- No travel history
- A recently abandoned job
Bring documents that clearly show why you’ll come back.
4. Unclear Travel Purpose
State your reason for traveling clearly. A vague purpose invites suspicion.
Strong examples:
- A detailed tourism itinerary
- A university admission letter
- A conference invitation
- A business meeting invitation
Weak examples:
- “Just visiting”
- “Exploring opportunities”
- “Seeing the country”
Embassies want specific, credible plans, not vague intentions.
5. Fake or Suspicious Documents
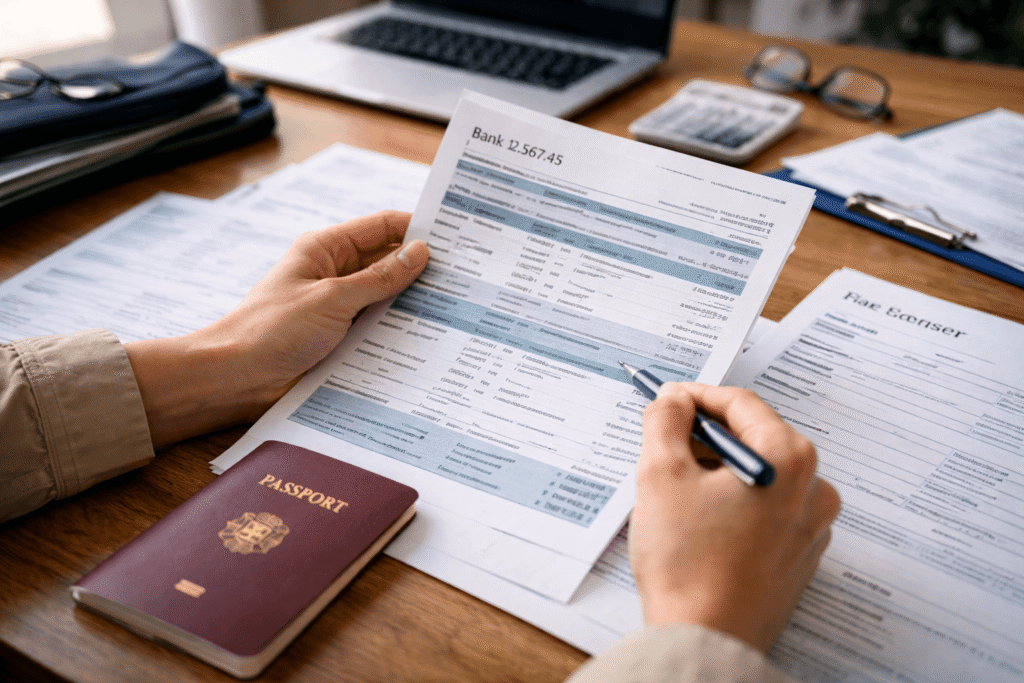
Submitting fake documents almost guarantees rejection, and often a long-term ban.
Common examples:
- Fabricated bank statements
- Fake employment letters
- Edited travel bookings
- False invitation letters
Embassies routinely verify documents directly with banks, employers, and institutions. Fake documents can lead to rejection, a multi-year ban, or lasting damage to your immigration record. Submit only genuine documents, every time.
6. Poor Travel History
Your travel history tells officers how trustworthy you are. Applicants with a track record of visiting other countries and returning on time read as lower risk.
Strong travel history includes:
- Previous visas
- Entry and exit stamps
- Multiple completed international trips
Weak travel history includes:
- No prior international travel
- Previous visa refusals
A thin travel history doesn’t guarantee rejection. It just makes approval harder to secure.
7. Failed Visa Interviews
Some visa types require an interview. Officers assess your confidence, consistency, honesty, and grasp of your own travel plans.
Common interview mistakes:
- Contradicting your written application
- Giving vague answers
- Appearing nervous or evasive
- Over-explaining unnecessary details
Answer every question clearly and honestly.
Before you apply, gather your financial proof, itinerary, and insurance documents. Our guide to cheap international flights helps with affordable bookings, and our complete travel insurance guide covers what most visa applications require.
Step-by-Step: How to Avoid Visa Rejection
Follow these steps to meaningfully raise your approval odds.
Step 1: Understand your destination’s requirements. Every country sets its own rules. Check the official embassy website before you apply.
Step 2: Prepare complete documentation. Gather your passport, application form, photos, financial documents, and travel itinerary.
Step 3: Provide strong financial evidence. Submit bank statements showing consistent balances. Avoid large, sudden deposits right before you apply.
Step 4: Demonstrate genuine ties to home. Include your employment letter, business documents, property records, or proof of family responsibilities.
Step 5: Prepare for your interview. Practice answering the obvious questions: Why are you traveling? Who’s funding the trip? When will you return? Confidence and honesty carry real weight.
Before your interview, prepare thoroughly to lower your rejection risk. Our visa interview preparation guide walks through the questions officers ask most.
Visa Application Checklist
Confirm you have every item below before you submit.
| Document | Required |
|---|---|
| Valid passport | Yes |
| Visa application form | Yes |
| Passport photographs | Yes |
| Travel itinerary | Yes |
| Hotel booking | Often required |
| Flight reservation | Often required |
| Bank statements | Yes |
| Employment proof | Yes |
| Travel insurance | Sometimes required |
| Invitation letter | If applicable |
A checklist catches missing documents before an officer does.
Confirmed accommodation strengthens your application. Our hotel booking guide explains how to book safely for visa purposes.
Expert Tips to Improve Your Odds
Apply early. Last-minute applications raise your error risk.
Keep your finances stable. Consistent balances read better than sudden deposits.
Write a clear cover letter. A focused explanation of your travel purpose strengthens your file.
Organize your documents. Arrange everything in a clear, logical order.
Stay honest. Honesty matters more than a polished but inconsistent story.
Common Mistakes That Cause Rejection
Submitting fake documents. This is one of the most serious mistakes an applicant can make.
Ignoring official guidelines. Some applicants skip reading the embassy’s actual requirements.
Giving inconsistent information. Job titles, travel dates, and financial details need to match across every document.
Walking into an interview unprepared. Some applicants attend interviews without practicing at all.
What to Do After a Rejection
A rejection doesn’t mean permanent denial. You still have options.
Read the refusal letter carefully. Embassies typically explain the reason for refusal.
Fix the actual problem. If documents were missing or weak, strengthen them before you reapply.
Reapply once you’ve improved your file. Resubmitting the same application rarely produces a different result.
Consider professional guidance. A visa consultant can review your file and catch gaps you might miss.
Frequently Asked Questions
Can I apply again after a rejection? Yes. Most visa systems let you reapply anytime, but fix the underlying problem first.
Does a refusal affect future applications? It can. Officers often review your prior applications, but one refusal doesn’t guarantee future denials.
Should I mention previous refusals? Yes, always disclose them honestly. Hiding a refusal can cause serious problems later.
Can I get my visa fee refunded after rejection? Usually not. Most visa fees stay non-refundable, even after a refusal.
How long should I wait before reapplying? There’s no universal rule. Reapply only after you’ve genuinely fixed the issue that caused the refusal.
Before you apply again, review the full process. Our complete guide to tourist visas covers it end to end.
Conclusion

Visa rejection stings, but proper preparation prevents most cases. The most common causes are incomplete applications, weak financial proof, thin ties to home, unclear travel purpose, inconsistent documents, limited travel history, and weak interview performance.
Applicants who prepare their documentation carefully, keep their finances stable, and explain their travel plans clearly stand a much better chance of approval. A well-prepared application shows credibility, financial capability, and genuine intent — exactly what visa officers look for.
Work through the checklist above, follow the step-by-step guidance, and apply the expert tips in this guide. Doing so meaningfully lowers your risk of refusal and improves your odds of approval.